DIY narrowboat double glazing
I’ll start this post with the obligatory ‘sorry I don’t post more’ standard blog post. I intended to make posts every week or two, but a combination of laziness and falling out of the habit meant I didn’t do that. What tends to suit my posting style more is sporadic posts about something that interests me or I think will interest other people, and only when I can be bothered. Anyway, on to CONTENT!
Intro and The Plan
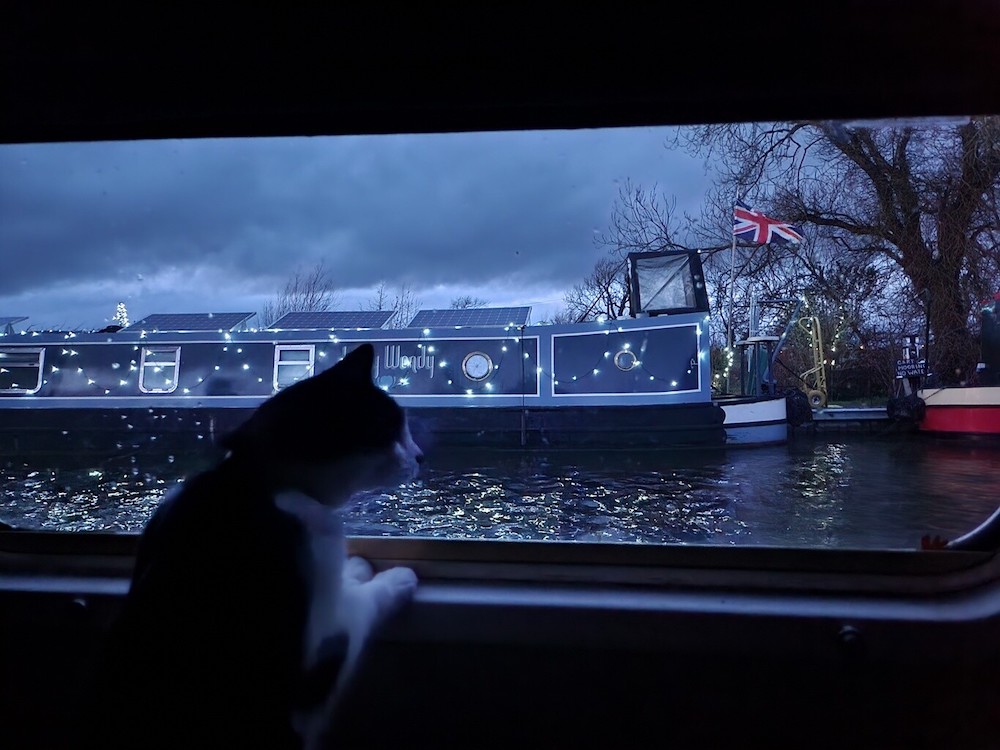
It’s now late December in the UK and I’m currently on the boat alone while Erin is in the US getting UK visa stuff sorted. Around mid-December we got a pretty severe cold snap, with our new onboard weather station reporting temperatures of -10C! The section of canal I’m currently on - the Trent and Mersey anyway from Shardlow to Willington - froze over almost completely. Not that it mattered, further progress was hindered by the closure of bridge 20A (which has subsequently been cleared). Which didn’t bother me anyway, I had nowhere to be and was content to stay cozy in my little steel tube with the cat. Oh yeah, there’s a cat now. More on that in another post maybe. We rescued him at a lock just south of Leicester and he’s called Scraps.
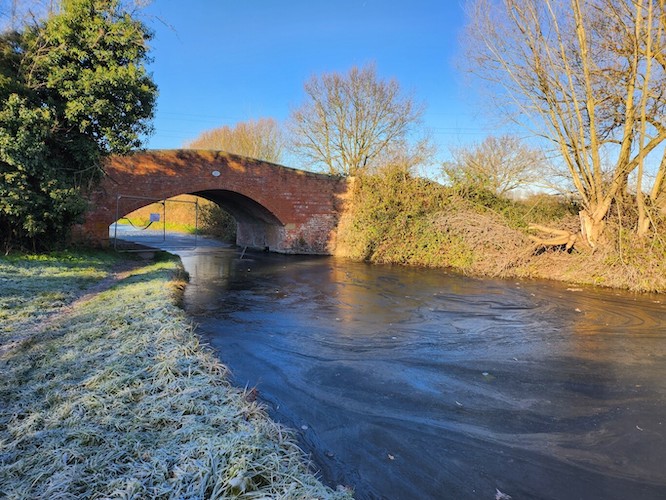
The frozen canal by Stenson
Oh another thing I noticed while writing this is I tend to switch between telling you what to do (‘Then you can do X, Y and Z’) and telling you what I did (‘I then did A, B and C’). I noticed this far too late into writing this post and can’t be bothered to fix it, so deal.
During the colder months, two things happen on narrowboats. One: you burn through a lot of fuel in order to keep the boat livably warm, and two: the boat gets a lot damper due to condensation. The windows on Why Wait? are just single panes of about 3mm thick glass, so one obvious way to tackle both of these issues is to somehow improve the window situation. Some boats actually opt for proper double-glazing, some which can open outwards and some inwards. However, getting our windows replaced would be a huge expense that doesn’t really need to be done. Instead, I opted for a somewhat common approach - use sheets of plexiglass/perspex/acrylic/whatever you want to call it installed into the window frames in such a way that it traps air between the outer windows and the inner plastic. You know, exactly how double-glazing works.
Basic premise
The basic idea was to buy sheets of acrylic that were already the size of the windows, such that we’d have to do minimal cutting. Our windows, like most, have rounded corners though so there would be at least some amount of cutting. More on that later. We would then use magnetic tape attached to both the window frames and the acrylic with double-sided tape such that we could remove these in the summer. This also means that in the summer, if needed, we could buy some insect netting and attach it in exactly the same way, with the main glass window panes completely removed! With the acrylic in place, we would have about a centimeter of air between the glass and acrylic. Perfect! This should reduce condensation considerably and hopefully keep the boat much warmer!
Materials
We purchased 6 sheets of 1000mm x 500mm plexiglass from sheetplastics.co.uk. In addition to this, we purchased two-part magnetic tape - two rolls of 10M. This is separated into ‘A’ and ‘B’ strips, with one strip being able to magnetically connect to the other. During building I would need to ensure that all the windows ended up with the same strip, and the frames with the other strip.
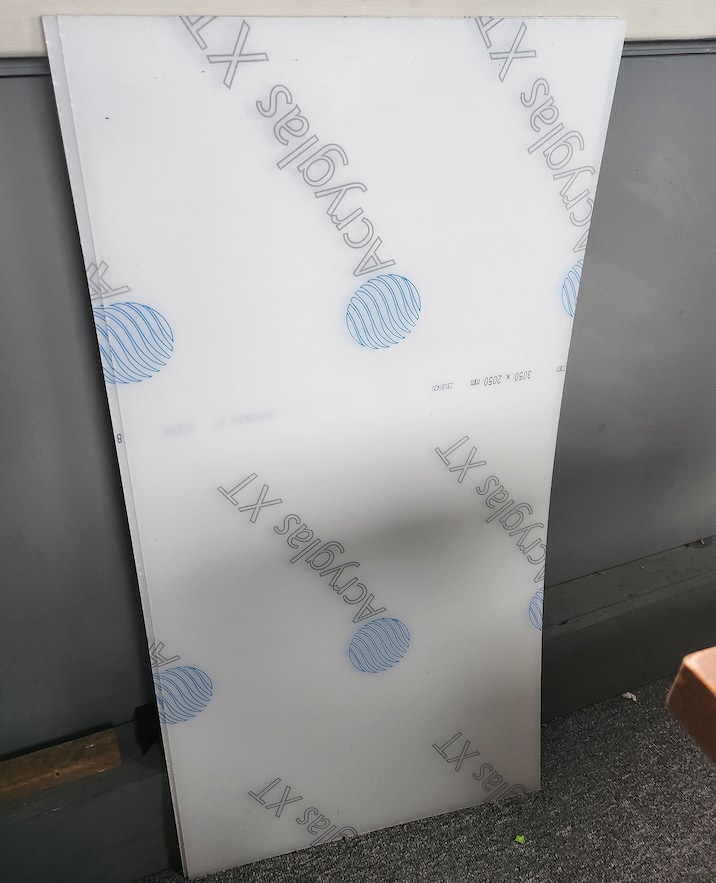
The sheets of acrylic, still with their protective plastic on
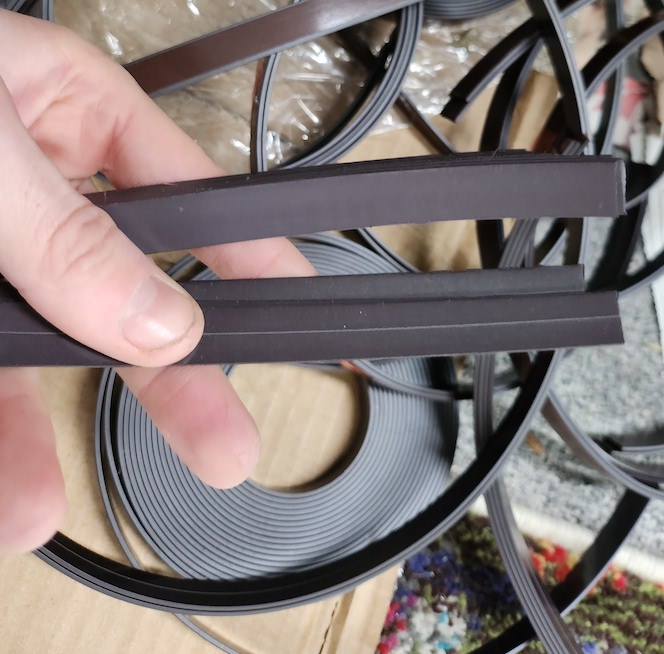
A pile of the magnetic strips, already cut to length by me. The two sides are differentiatable by site. Side B has a line through the middle
Other than that, the only additional thing required was a sharp knife and some pliers (I used my Leatherman Sidekick for both of these roles) and some sort of template for cutting the curved corners from the acrylic. As luck would have it, our small plates from the kitchen just happen to be basically the exact size, so I used those! If you’re not so lucky, I’m not sure what else you could use. Have a rummage, I tried coasters, big plates, mugs, etc until I found something with the right radius.
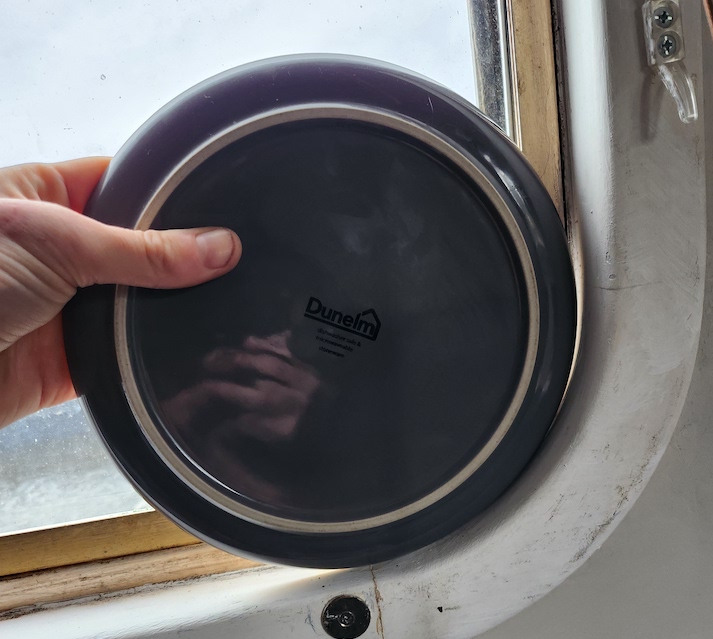
A perfectly sized plate, look at that!
Method
Since we don’t need to cut the sheets to size, we’re saved a lot of work. In order to cut the acrylic, I positioned the plate correctly and used my knife to score the curve. I pressed down fairly hard and made several scores.
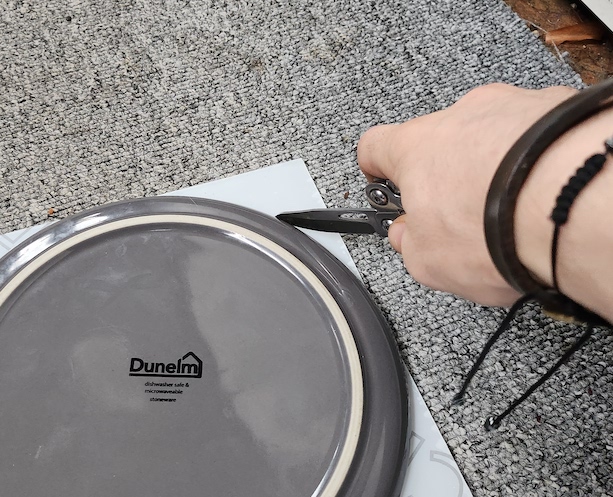
Scoring the acrylic using the plate as a template
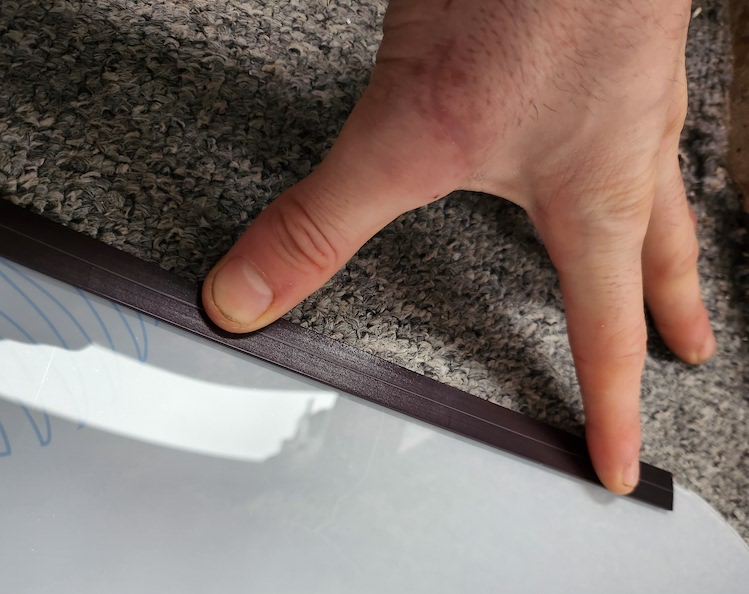
Now comes the scary bit! Grab the corner of the acrylic and bend! If you’ve scored it deep enough, eventually it will break and mostly follow the scoring. Mine never followed it exactly, but would never go deeper than the score. In order to remove the remaining excess acrylic up to the score, grab your pliers. Position them as close as you can to the score, as pictured, and bend away from the score (in my case, down to the carpet). The acrylic should snap off and again, follow the score. This isn’t absolutely perfect and requires a little neatening. I’m sure there could be better methods of a getting a clean cut, but I’m pretty sure something like a jigsaw would just tear this thin and relatively brittle acrylic apart. Once you’re happy, remove the protective plastic from one side of the acrylic, so we can stick the magnetic strips to it.
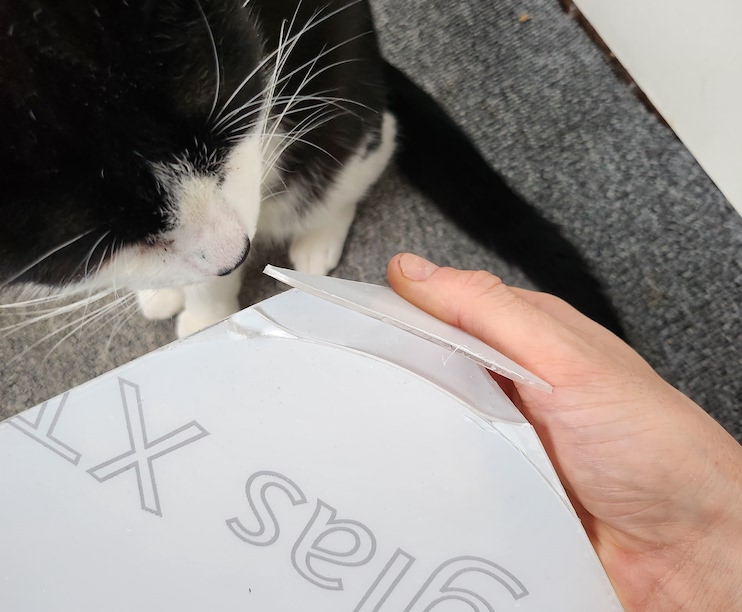
Bending the acrylic to break it along the score
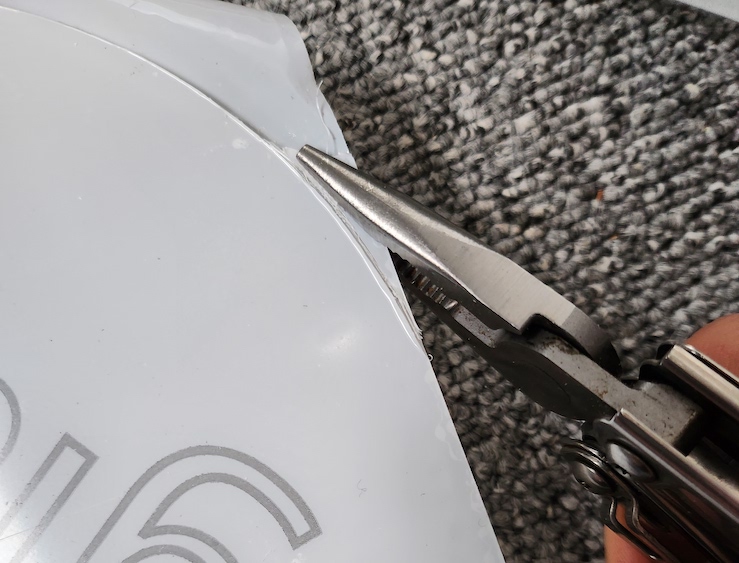
Using pliers to clean up the excess unbroken acrylic
Once the acrylic is now basically the shape of the window (at this point you’ll probably want to check that is the case), we need to cut the magnetic strip to the right length, and afix it to the acrylic and the window frames. While I did each piece of acrylic one at a time, I decided to do all the magnetic strip cutting at once. While side A and side B of the strips are visually different, to absolutely remove any chance of a cock-up, I placed side A (which I would use on the frames) on the other side of the boat while I cut side B for the sheets.
I measured the distance between the start of each curved corner for the long and short sides of the sheet, made a ‘golden’ strip from which I would cut the rest and got to work. With hindsight, it’s ok of the strip doesn’t cover the entire length of the uncurved part of the sheet, but it worked out fine.
Once everything’s cut to length, remove the plastic from the magnetic strip to expose the double-sided tape’s sticky side, and afix to the acrylic.
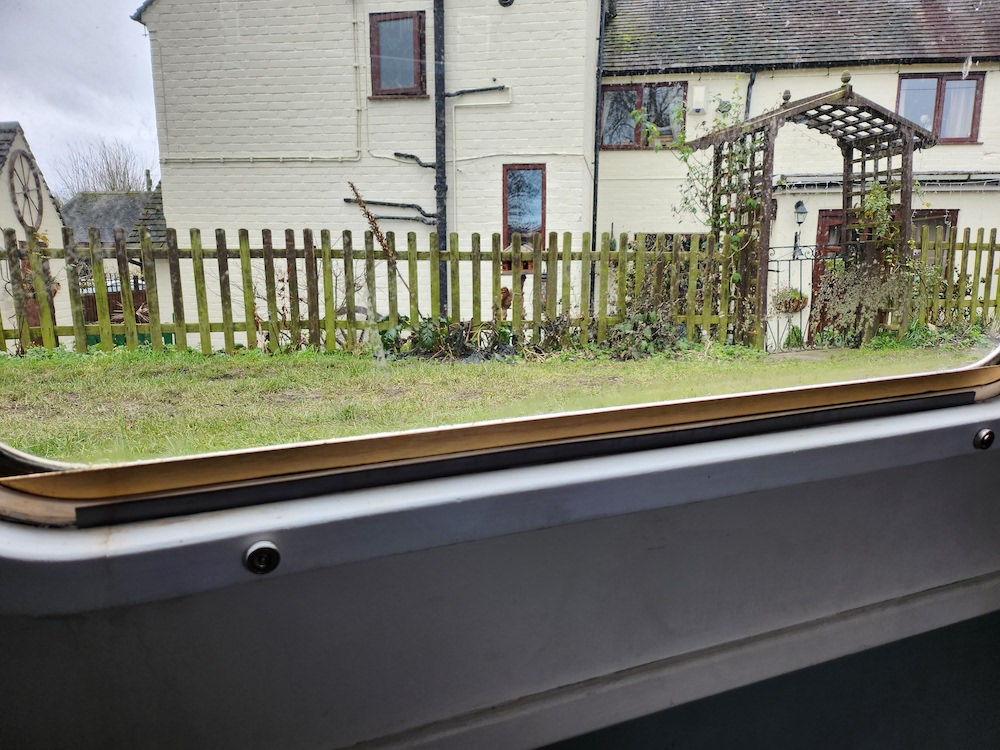
Afixing the magnetic strip to the acrylic
Now, a word of warning before we do the same to the window frames - If your boat’s warm and it’s a cold day outside, your window frames are going to be wet with the very condensation we’re trying to get rid of! I made sure to clean and dry my window frames before attempting to stick the tape, but it was quite late in the evening and my boat was toasty from being heated all day. The condensation would just form again too quickly for me to be able to get the strips to stick! The solution for this is quite simple - have a beer or two, go to bed, and return to the task in the morning when it’s a bit colder in the boat and a bit warmer (hopefully) outside!
Ok, good beer? Good sleep? Great. Now get the magnetic strips stuck to the frame and you should be good to go. It can be a little tricky to get the strips exactly lined up with the strips on the acrylic. I tried pairing the strips first, removing the protective plastic and trying to attach the whole system to the window frame in one go but it didn’t work as well. Much better in my mind to attach the strips and move them slightly if need be. They peel off reasonably OK if you need to give it a second (or third, in my case) try.
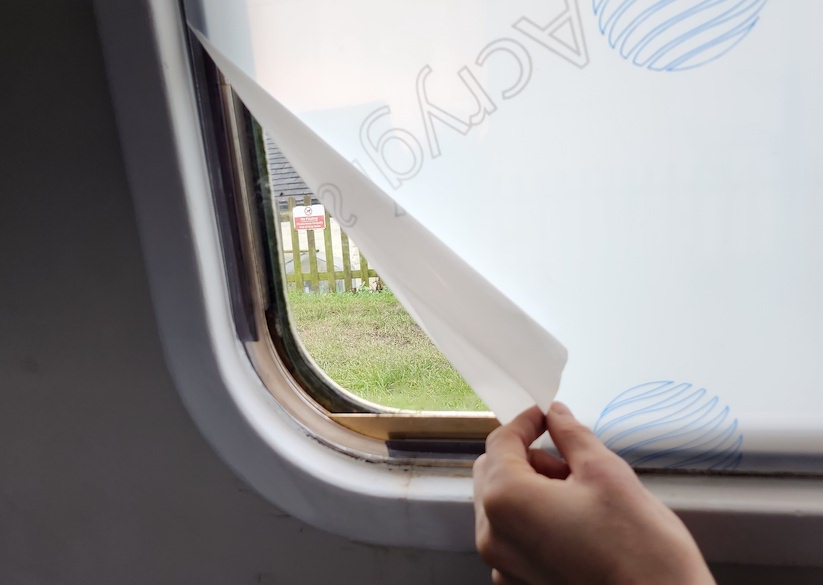
Once you’re happy with everything, you can finally peel off the other protective sheet of plastic on the acrylic. Get that thing mounted and we’re all done!
It remains to be seen how effective this will be in the long run, but I’m pretty confident. I’ve only done 3 of the 6 windows so far, but I’ve already noticed considerably less condensation on those windows. I guess we’ll see!
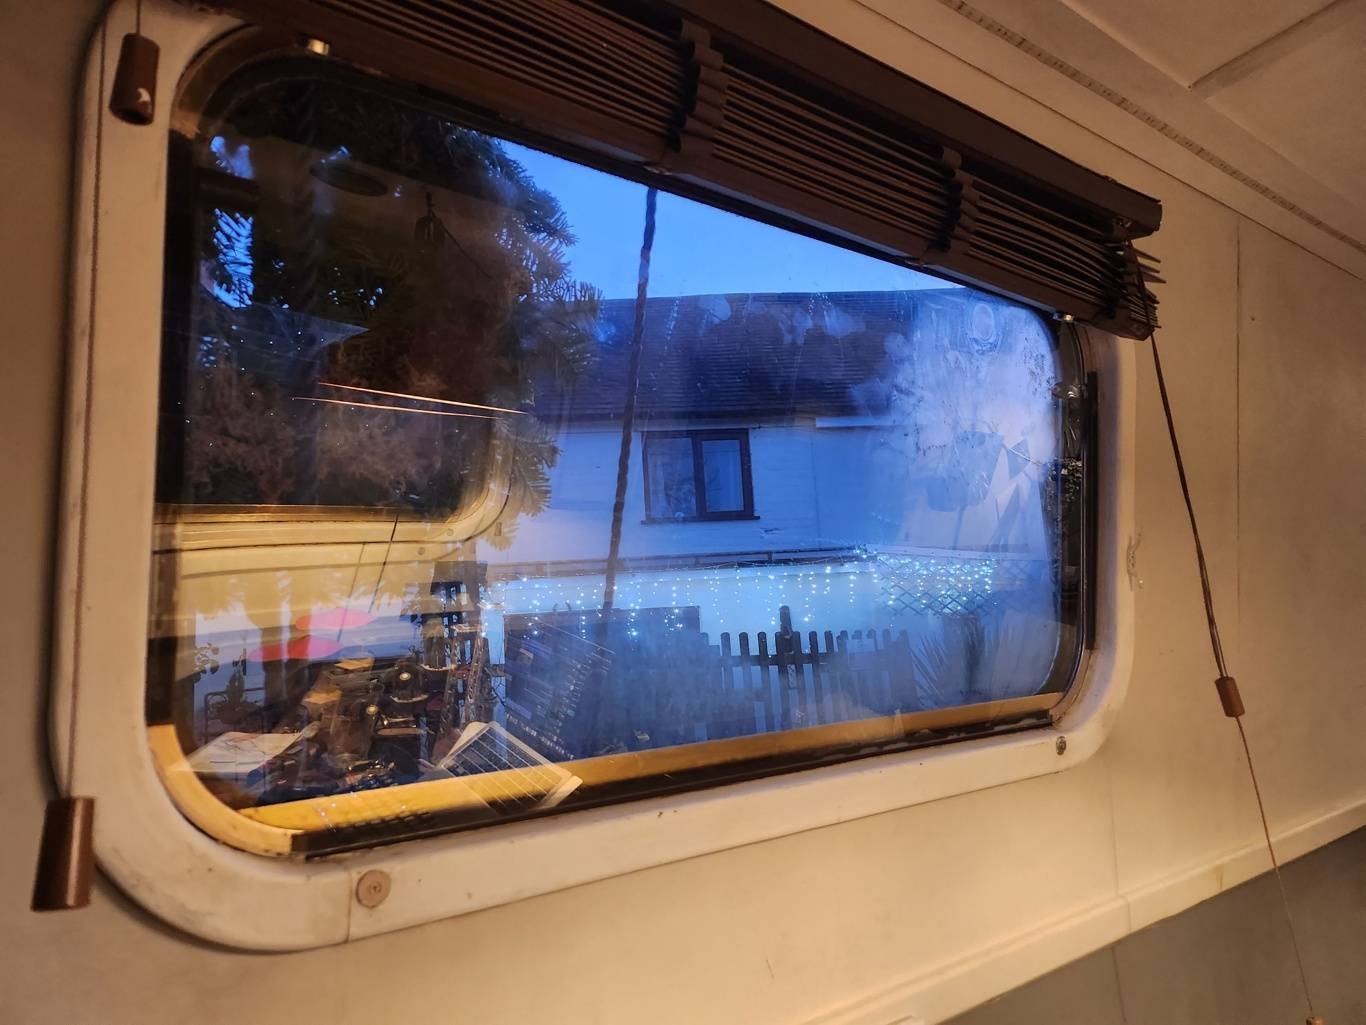
The completed DIY double-glazed window! Yeah, you can barely tell it’s there, which I guess is a good thing
Cheers for reading this post, I hope it’s been informative. Maybe even entertaining? I’ll leave you with this lovely picture of Scraps looking out the window in Willington on a beautiful winter’s day. Ta. x